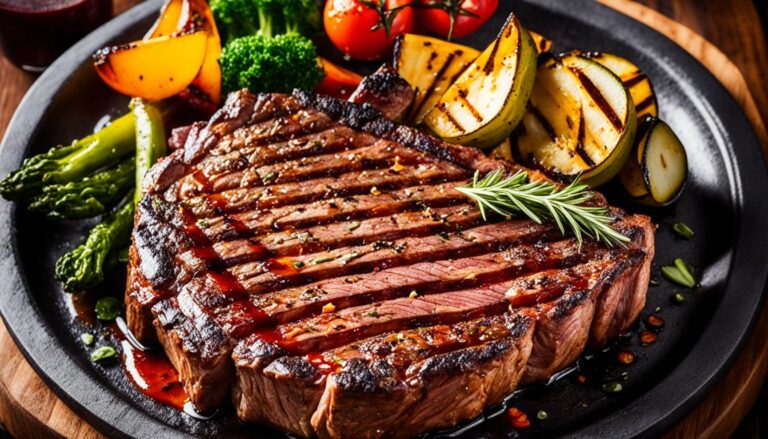
How to Cook Brisket on a Gas Grill is a fantastic way to enjoy a delicious, tender meal with a smoky flavor. This guide will walk you through every step of the process, making it easy to cook brisket like a pro, even if you’re new to grilling.
Understanding Brisket
What is Brisket?
Brisket is a cut of beef that comes from the chest of the cow. It’s known for its rich, beefy taste and becomes very tender when cooked slowly. Brisket has two main parts: the flat, which is leaner, and the point, which is fattier and more flavorful.
Choosing the Right Brisket
When selecting a brisket, look for a piece with good marbling and a nice layer of fat. The fat helps keep the meat moist and adds flavor during cooking. A brisket with a deep red color is usually fresher and better.
Preparing Your Brisket
Trimming the Brisket
Trim off excess fat from the brisket, but leave about 1/4 inch of fat on top. This fat cap helps keep the brisket juicy. Be careful not to trim too much fat, as this can lead to a dry brisket.
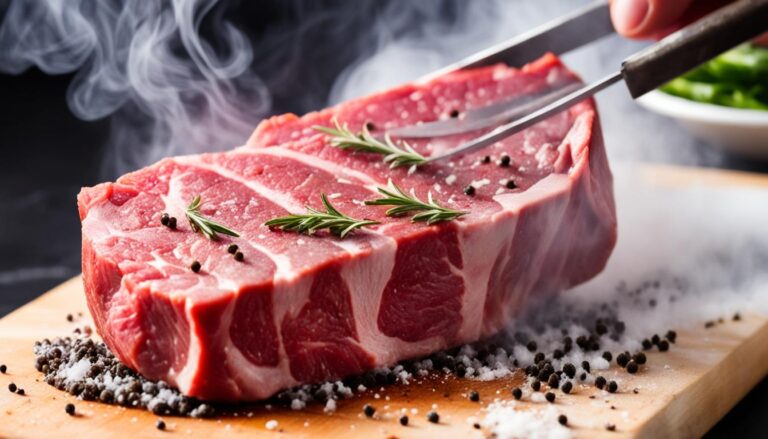
Seasoning the Brisket
Season the brisket with a mix of salt, pepper, and garlic powder. For extra flavor, you can also add paprika, chili powder, and a bit of brown sugar. Rub the seasoning all over the brisket and let it sit in the fridge for several hours or overnight.
Setting Up How to Cook Brisket on a Gas Grill
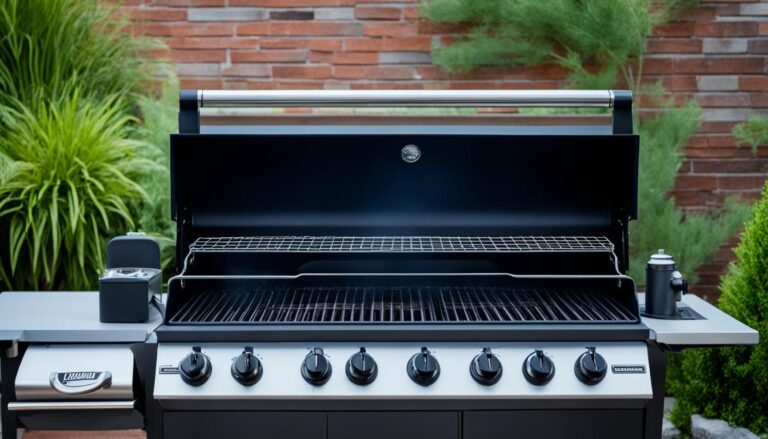
Choosing the Right Gas Grill
For cooking brisket, a gas grill with at least two burners is best. This allows you to set up an area for indirect heat, which is essential for cooking the brisket slowly and evenly.
Setting Up for Indirect Heat
To cook the brisket using indirect heat, turn on only one side of the burners and leave the other side off. Place a drip pan on the side that’s turned off to catch any drippings from the brisket. This setup helps cook the brisket slowly without direct flames.
Maintaining the Right Temperature
Keep your grill temperature between 225°F and 275°F. A stable temperature is important for cooking the brisket evenly. Use a grill thermometer to check the temperature and adjust the burners as needed.
Cooking the Brisket
Preheating the Grill
Before you put the brisket on the grill, preheat it to your desired cooking temperature. Let the grill heat up for about 15 minutes with the lid closed to ensure it’s ready.
Placing the Brisket on the Grill
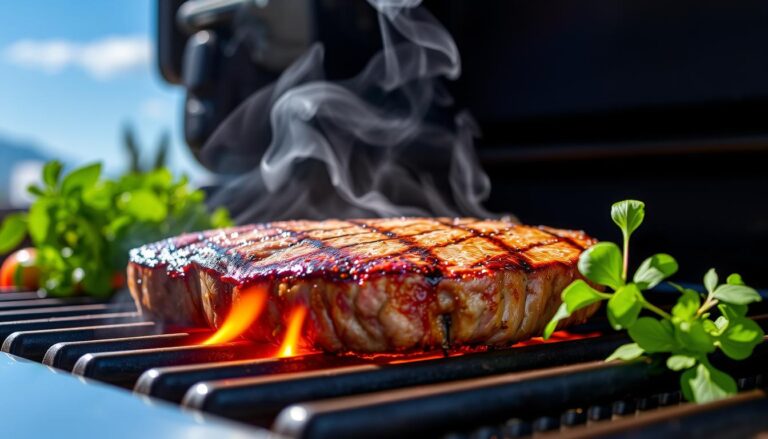
Put the brisket on the cooler side of the grill, fat side up. This allows the fat to melt and baste the meat as it cooks, keeping it juicy. Avoid placing the brisket directly over the flames.
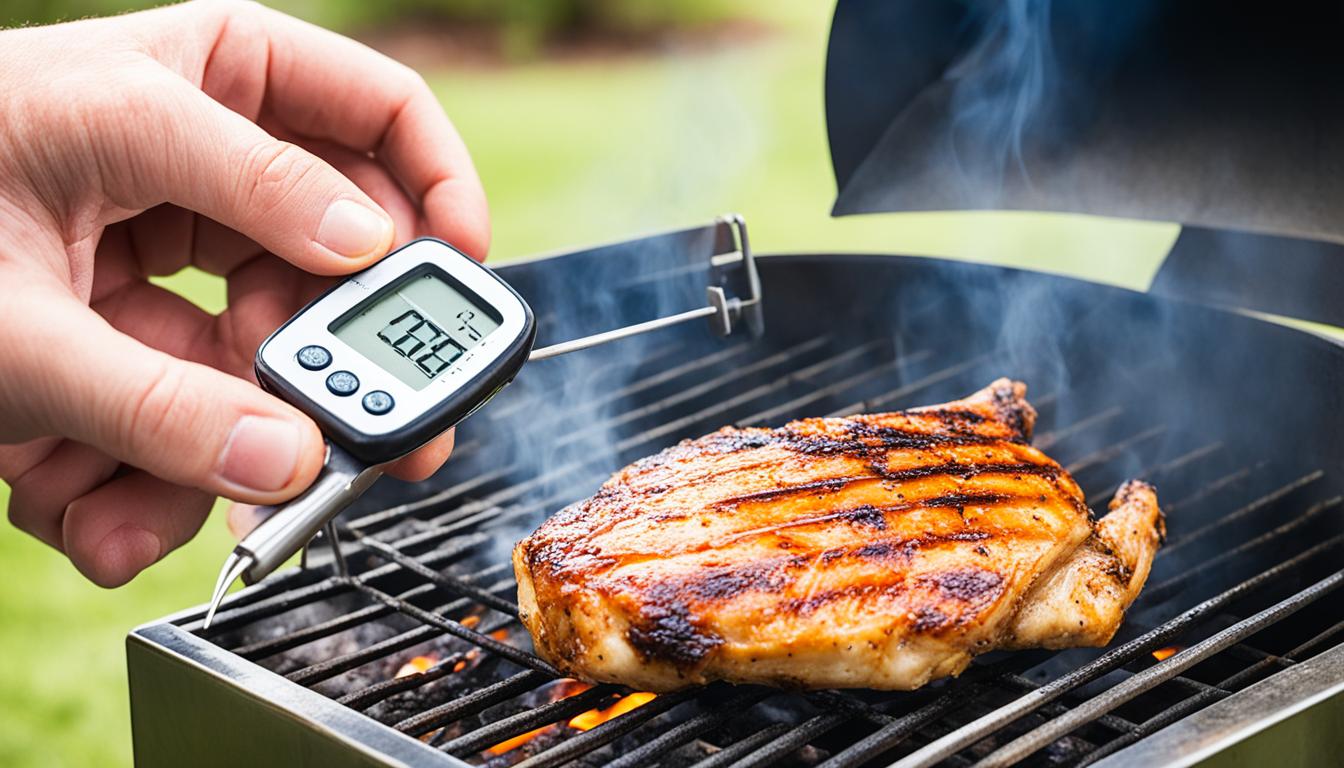
Monitoring the Temperature
Check the brisket’s internal temperature with a meat thermometer. You want it to reach between 195°F and 205°F. This range ensures the brisket is tender and easy to pull apart.
Wrapping the Brisket
Once the brisket reaches about 160°F, wrap it in aluminum foil or butcher paper. This helps keep the meat moist and speeds up cooking. Wrapping also helps make the brisket more tender.
Checking for Doneness
Internal Temperature Guide
The brisket is done when it reaches 195°F to 205°F. At this temperature, it should be tender and easy to shred. Check the meat’s texture by inserting a probe or fork; it should slide in easily.
Testing for Tenderness
To check if the brisket is tender, use a fork or probe to see if it goes in and out with little resistance. If it does, the brisket is ready. If not, continue cooking and check again later.
Resting and Slicing
Resting the Brisket
Let the brisket rest for at least 30 minutes after removing it from the grill. Resting allows the juices to redistribute, making the meat more flavorful and moist. Wrap the brisket loosely in foil to keep it warm during this time.
Slicing the Brisket
Slice the brisket against the grain for the best texture. The grain runs perpendicular to the length of the brisket. Cutting against the grain ensures tender slices that are easy to chew.
Serving Suggestions
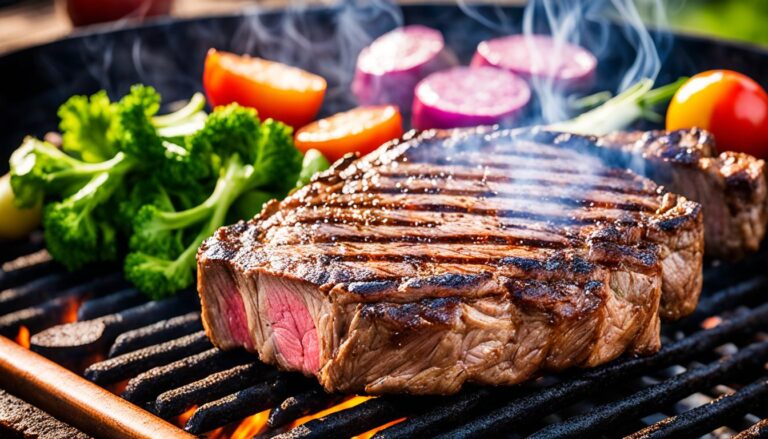
Recommended Side Dishes
Brisket goes great with sides like coleslaw, baked beans, cornbread, or roasted vegetables. These sides complement the rich flavor of the brisket and make for a well-rounded meal.
Sauces and Garnishes
Add barbecue sauce, pickles, or onions to enhance the flavor of the brisket. These extras can provide a nice contrast to the richness of the meat and add extra flavor.
Troubleshooting Common Issues
Dry Brisket
If your brisket is dry, it may have been overcooked or cooked without enough moisture. Make sure to monitor the temperature closely and wrap the brisket to keep it moist.
Overcooked Brisket
Overcooked brisket can become tough and chewy. Use a meat thermometer to avoid this problem, and remove the brisket from the grill as soon as it reaches the proper temperature.
Uneven Cooking
Uneven cooking can happen if the grill temperature isn’t consistent. Rotate the brisket if necessary and adjust the heat to maintain a steady temperature.

Tips for Perfect Brisket
Patience is Key
Cooking brisket takes time. Don’t rush the process; cooking it slowly at a low temperature will yield the best results.
Adjusting for Altitude and Weather
Weather and altitude can affect cooking times. Adjust your grill’s temperature and cooking time based on these factors to get the best results.
Using a Meat Thermometer
A meat thermometer is essential for cooking brisket properly. It helps you avoid undercooking or overcooking the meat, ensuring that it turns out just right.
Cleaning and Maintenance
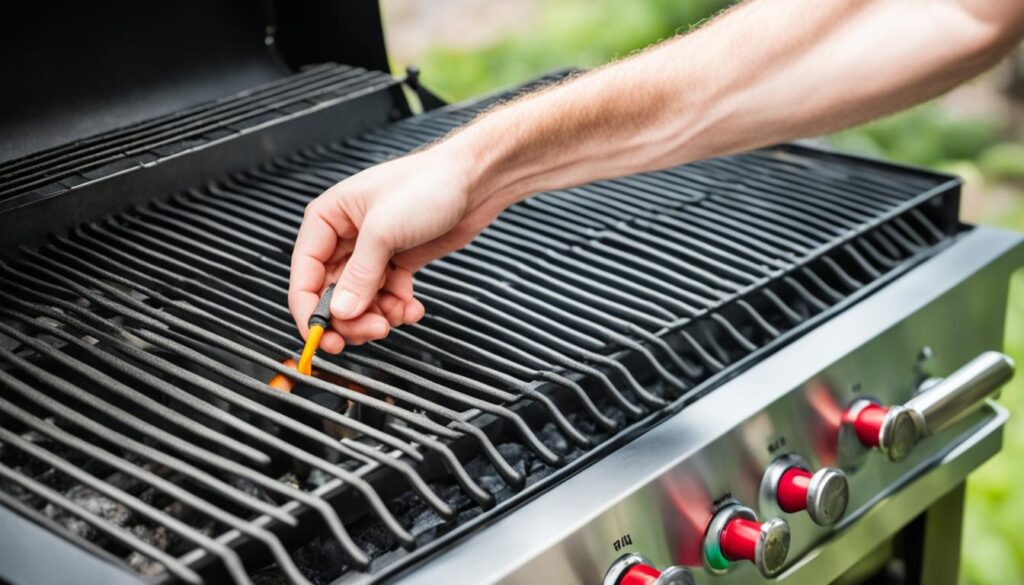
Cleaning Your Gas Grill
After cooking, clean the grill grates and drip pan to remove any leftover residue. This will help keep your grill in good condition and ready for your next meal.
Maintaining Grill Parts
Regularly check and maintain your grill’s parts, such as burners and ignition systems, to ensure everything is working correctly. Proper maintenance will keep your grill performing well.